
"Painted" Noses and Wired Ears
- Jul 29, 2018
- 2 min read

Here is 6" (15cm) Matilda in the carrot patch. She is made out of white Fireside fabric. I made her a y-shaped nose and mouth outline using 4 strands from 6-strand medium brown embroidery floss. Next I gently trimmed some of the fabric pile in the nose area and "painted" on a light pink nose. I am really excited by this technique because it is really fast and can be layered up for the look you want.

I used a small, flat, fairly stiff, angled brush to mix a drop of water with some Pan Pastel powder in light pink. *Some pigment can be rubbed on a small piece of cardboard, moistened with a wet brush or mixed well on the paper with a drop or two of water and dabbed into the nose area with a brush or applicator that let's you deposit the pigment where you want it to be. Colour can be added to make rosy cheeks, shadows around the eyes, on the ears or anywhere you like! It is fun to practice with different products and tools on a scrap of similar material or any extra bunny heads you have laying around!
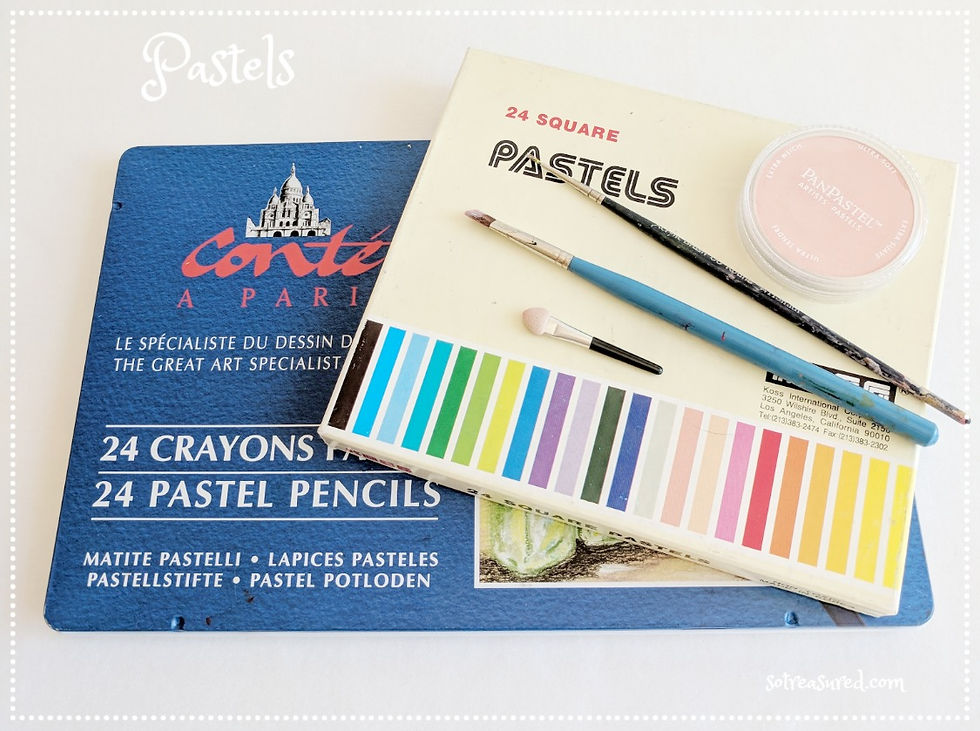
*Note: These are not oil pastels but rather "chalk" or "pencil" pastels I have even used water colour crayons. The key is to not apply them directly to the fabric but get a light, barely wet consistency of the pigment on paper first. It should not be runny like actual paint just enough to colour your brush for easy application. I repeat that process of adding a drop of water or wetting my brush after a few dabs until I am done rather than adding a lot of water all at once.

To make bendable ears that could be posed in all sorts of ways I used some thin white wire, shaped it to fit inside the fabric ears, and then stitched it in place from the outside of the ear. The bottom wire ends should be wrapped or folded back upon themselves first so they do not stick out like in this picture. You don't want them poking through your fabric. These are the ears that I dabbed pastel chalk "paint" on in the inner ear area in the first picture above.